Fungi Perfecti Mushroom Patch

The more I learn about mushrooms, the more I want to know practical ways to interact with them. You HAVE to watch this video to see some of the exciting ways mushrooms are being used.

We ordered a Pearl Oyster Mushroom Patch from Fungi Perfecti, Paul Stamet’s company.

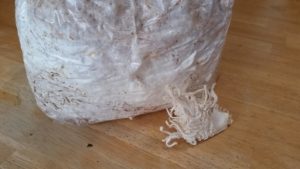
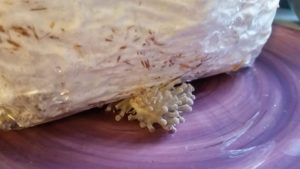
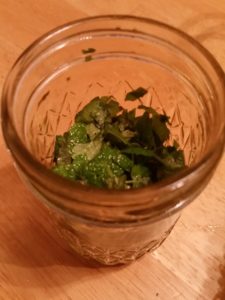
It consists of organic straw that is inoculated with Pearl Oyster mycelium. When it arrived, it looked fully colonized, and the directions state that it should start growing Pearl Oysters in 7-14 days. It had, in fact, started growing while being shipped, as you can see from the square mushroom in the picture to the right. The mushroom looks the way it does because it was not receiving enough air while in the box.

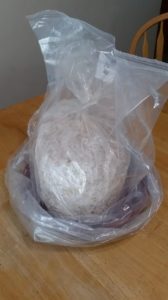
We broke off the early growth and placed the mushroom patch on a plate. This will help catch extra moisture that condenses on the bag since we need to spray it down multiple times a day.

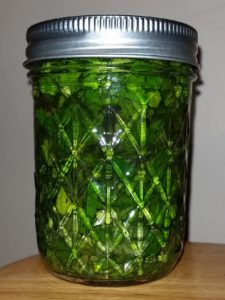
We used purified, non-chlorinated, and non-softened water in a small spray bottle to spray the patch down. Then, we covered the patch with a humidity cover.

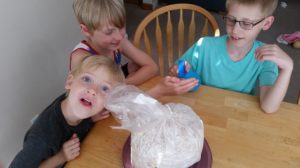
The mushroom patch is being left on the dining room table, so we can watch it grow and maintain consistent moisture levels.

We’ll keep you posted on the progress on our Facebook page!


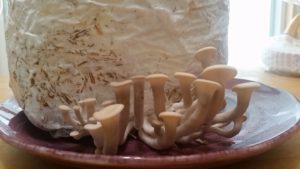
5 June: Primordial is starting to form on the package!

7 June: Mushrooms continuing to grow!

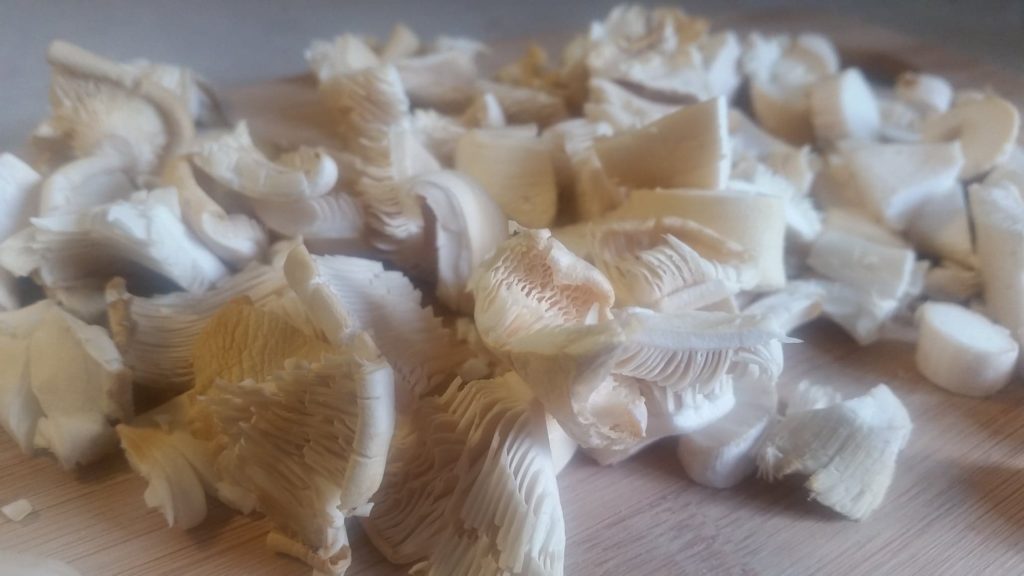
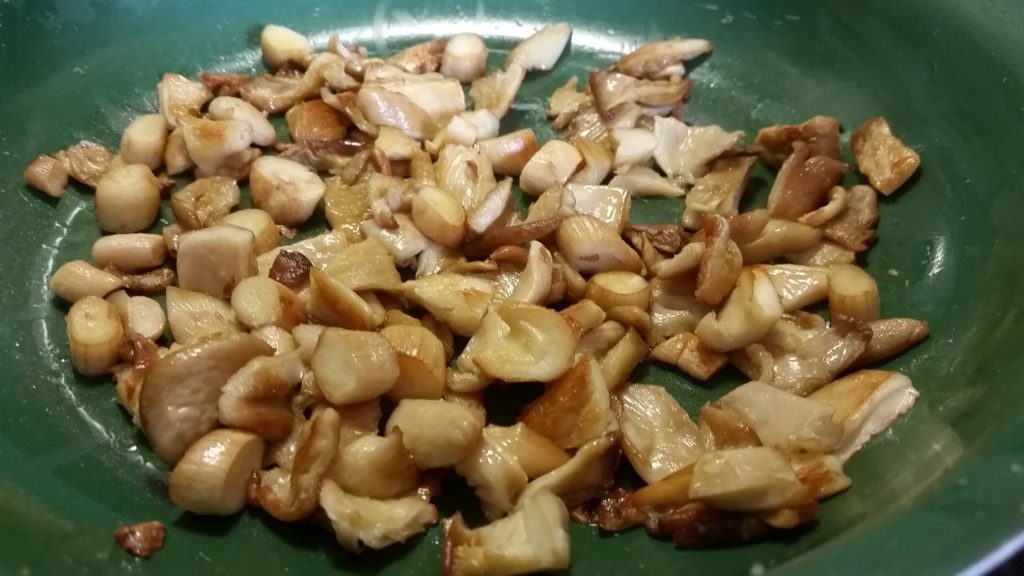
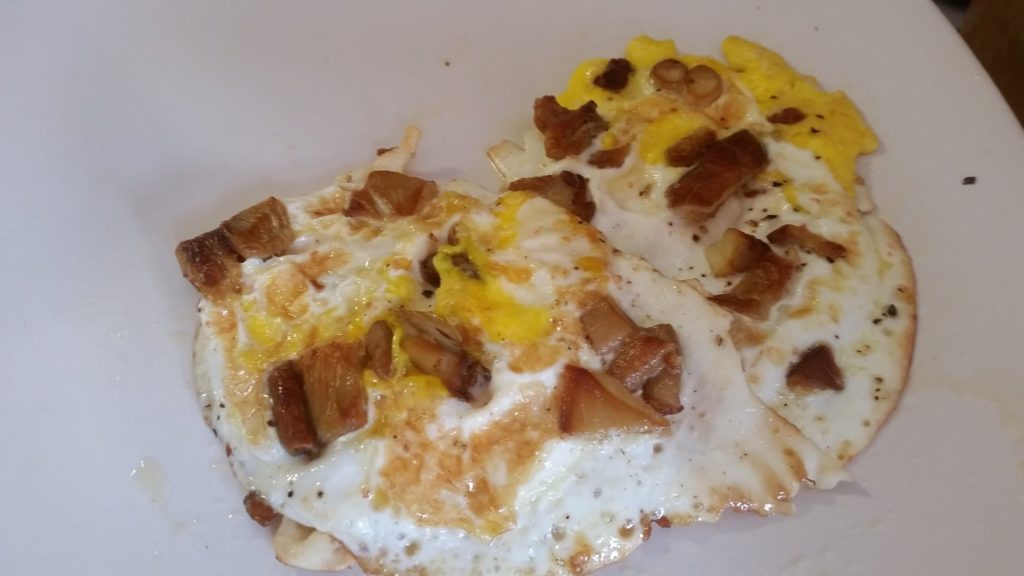
10 June: Harvested the mushrooms, cooked on 19 June.

We Made Maple Syrup!

Last weekend, the weather was great, so we decided to install the Maple Tree Tap Kit that I ordered on Amazon last month. You can watch the process below!

It only took a couple days to get enough maple water to boil down. The process is as easy as boiling water. 🙂

After filling up a stock pot with maple water, turn the burner on medium high. Let the water boil until there are only 1/4-1/2 inches left. At this point, you should keep a careful watch over the pot, because once the water is gone and only the syrup remains, it will foam and burn easily. Once the syrup starts to foam, pull the pot off the burner and pour the syrup into a container.

The whole family was very impressed with the flavor. Christi made some pancakes for us to try it on! The maple water had somewhat of an aftertaste to it, but the syrup tasted superb.

Rendering Lard for the First Time!

We purchased a couple pasture raised hogs this past year from Green Finned Hippy Farms, which was a great experience! They were raised on pasture, fed non-GMO grains, and moved regularly to let the land heal and re-grow. The processor (where the farm takes the hogs to be butchered) let us know that they need so much pig fat before they could render it, that our lard
would be mixed in with non-GMO lard, so we asked for the un-rendered fat. This came in sheets of skin with about 1 inch of fat. The sheets were about 1 foot by 2-3 feet.

To render your own lard, you will need:

– Pig Fat
– Knife/Cutting Board
– A Slow cooker
– 1/2 cup of Water

The first step to render the fat into lard is to cut it into 1-2 inch cubes, and place them into the slow cooker. This allows it to fit well into the slow cooker and render faster. Once you have filled the slow cooker, poor 1/2 cup of water over the fat. This keeps it from burning in the slow cooker, and it will evaporate during the process.

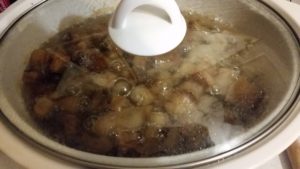
Turn the slow cooker on low, and let it cook all day or over night. As it melts, the lard becomes clear, and there will be smaller cubes of skin left over that can be used to make cracklins.

Once the lard is simmering, you can pour it off into containers to cool.

The most difficult part of the process is pouring this much lard out of such a large container. I ended up spilling a lot on the counter (which is hard to clean up). Eventually I poured the rest into a pampered chef measuring bowl that had a handle and spout to make pouring much easier. The result was great!

The photo on the left is the fresh, hot lard, and the photo on the right is what it looks like after it cools.

Lamb Noodle Soup

20161228_15510020161228_155244Ingredients:
1 tablespoon olive oil
1/2 cup chopped onions
1/2 cup chopped celery
1/2 teaspoon salt
1/2 teaspoon freshly ground pepper
1 chopped carrot
2 cups Water
4 cups Lamb Bone Broth
3/4 cup pasta
2 1/2 cups of shredded lamb
2 tablespoons chopped parsley20161228_155254


Saute the chopped onions, celery, carrot, salt and pepper in the olive oil until the vegetables are almost tender.

20161228_155644

Add the broth and water and bring to a boil. Once it is at a boil, add the pasta and cook 7 minutes or until the pasta is not quite tender. Stir in the lamb, and let it heat up until the pasta is fully tender. Stir in the parsley and serve!

20161228_163828

Lamb Bone Broth

20161119_083808Neck bones may not seem like the most prized cut of lamb, but they are excellent for making bone broth. Any bones can be used for bone broth, but neck bones have quite a lot of meat that will come off easily during the broth making process.

20161119_082924
Start by thawing the neck bones and soaking them in your stock pot with 1-2 tablespoons of apple cider vinegar and enough water to cover the meat. This starts breaking down the bones, so you will get more out of them. This should take at least 30 minutes. Do not turn on the stove yet.

20161119_092418
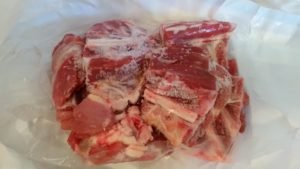
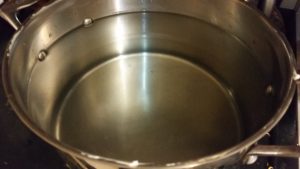
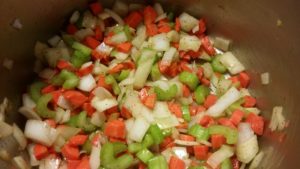
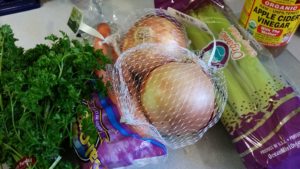
Then, prepare the following:
2 whole Onions, chopped
4-5 stalks of Celery, chopped
4-5 whole Carrots, chopped
1 bulb of Garlic, peeled and smashed
1 bunch of Parsley, chopped

And add it all to the soaking bones with some fresh ground pepper and sea salt.

20161119_092425
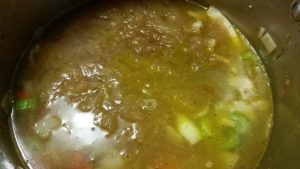
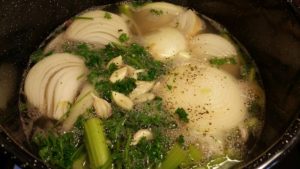
Bring the pot to a simmer. The goal is to let the bone broth simmer for at least 12 hours, but longer is better. The meat will fall off the bones, and they will turn white if allowed to simmer long enough. That means you’ve gotten all the good stuff.

20161119_235037
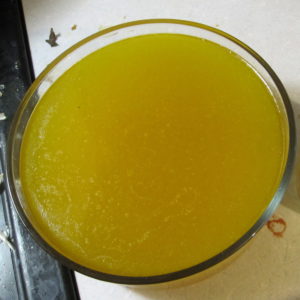
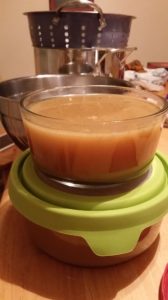
After simmering for at least 12 hours, strain the bone broth. We use a colander, so we don’t over strain it. As you ladle the bone broth into the colander, you will be separating the meat. The vegetables will be soft, or falling apart. You can feed everything that is strained out to your chickens!

The broth can be used immediately or frozen to save for soups and other recipes requiring broth.

Here’s a great recipe for Lamb Noodle Soup that you can make with this bone broth and shredded lamb!

Migraine Tincture

This spring, Regenerative Landscaping started our test herb garden which includes plants like Feverfew, Lemon Balm, Lovage, Thyme, Lemon Thyme, Chives, and others. With it getting close to Winter, we needed to harvest and use any last herbs that weren’t used over the Summer/Fall. One thing I’ve been wanting to try is a Feverfew Tincture. We have been adding Feverfew leaves to tea this fall to cure headaches, and we plan on drying part of the plant for teas this winter. A Tincture is “a medicine made by dissolving a drug in alcohol”. This gives us another way to preserve the Feverfew longer. Researching Feverfew Tinctures only, we ran across a recipe on FrugallySustainable.com that also included Lemon Balm, so that’s what we went with!

Lemon Balm Plant
Lemon Balm Plant

Feverfew Plant
Feverfew Plant

Feverfew and Lemon Balm Leaves

After harvesting sprigs of both plants, the leaves were removed from both plants and chopped into small pieces.

Then the bottom three-fifths of the jar was filled with Lemon Balm leaves and the remaining two-fifths filled with Feverfew Leaves.

2 Parts Feverfew
2 Parts Feverfew

3 Parts Lemon Balm
3 Parts Lemon Balm

Finally, Everclear was added to the jar to cover the leaves by about a half-inch and the lid was tightened. The beautiful jars will be displayed on our kitchen window sill for the next month or so so that we remember to shake them daily. After that time period, they will be strained through a cheesecloth into darker bottles to be stored in a cool, dark location for headache/migraine relief for years to come!

Migraine Tincture
Migraine Tincture

Everclear Added
Everclear Added

We will be offering herb garden installation next spring. If you are interested in having one installed, Contact Us, so we can source all the herbs that you will need!

How to Stretch a Pasture Raised Chicken (Serves 6)

How to Stretch a Pasture-Raised Chicken PDF


Meal 0

When you buy your chicken, it is important to also get the neck and the feet.


Meal 1Meal 1: De-breast chicken and use white meat in a meal such as chicken fried rice, pictured below.

Meal 2: Cut off thighs and legs and use dark meat in a meal, such as chicken salad, chicken burritos, or chicken pot pie.


Meal 3
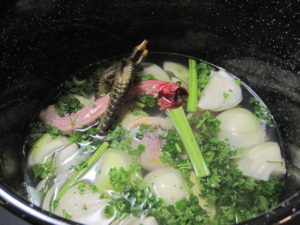
Meal 3: Make chicken stock/broth from the remaining parts (body, neck, and peeled feet). If boiled down long enough, this should produce 14-15 cups of chicken stock/broth. The leftover meat from the body and neck can be combined with the meat to make chicken noodle soup or for another meal

Meal 4-001


Meal 4: Use the remainder of the chicken stock/broth as the base for any other meal, such as Potato soup or in a pasta dish that cooks the pasta in the broth. You can also drink the broth straight.