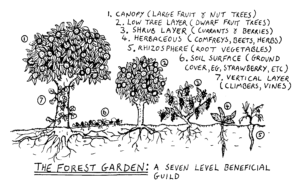
 This year, Regenerative Landscaping teamed up with the volunteers at the Fairview Heights Community Garden at Edgemont Bible Church and Get Up and Go! to start a new food forest as a part of their strategy for expanding their community garden. It’s so exciting to see the transformation from resource-intensive grass to a productive landscape! A food forest is a low-maintenance ecosystem that incorporates the different layers of a forest (e.g. Canopy, Low Tree, Shrub, Herbaceous, Root, Ground Cover, and Vines) to produce food. At the right, you can see a diagram of the seven levels of a food forest.
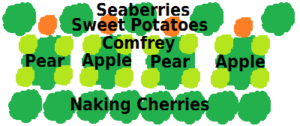 On the left side of the page, here, you can see the basic plan for what we planted. The main fruit trees that will form the canopy of the food forest are Pear and Apple. We also added a row of Seaberry trees, because they fix nitrogen in the ground (much like beans) and they also produce berries that are a super fruit and contain carotenoids which give them their characteristic orange color (like carrots).
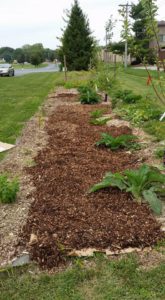
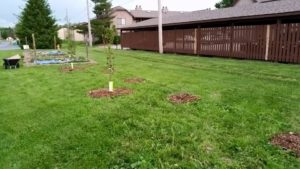 At the right of the page, you can see what the area looked like as we were getting started with planting. A grant from Get Up and Go! paid for the wonderful Pear and Apple trees.
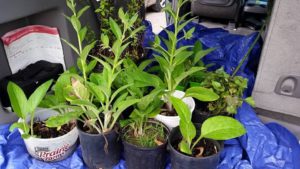 Regenerative Landscaping donated many other plants to fill in the food forest: the Seaberry trees, Naking cherry bushes, Comfrey, Blackberry bushes, and Sweet Potato plants.
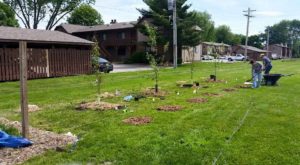 On our first day, the volunteers did a great job of putting in most of the plants. We also mulched enough area around the plants to keep them growing well and minimizing competition with the existing grass.
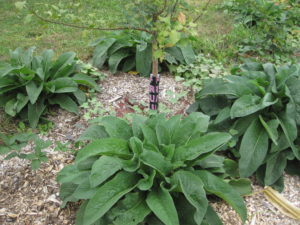
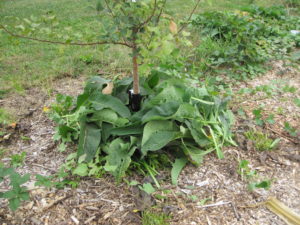
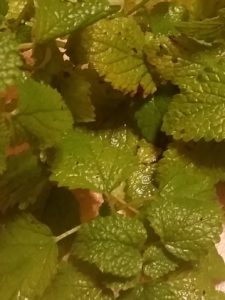
 As the summer progressed, we mulched the rest of the area inside the food forest. Eventually, the goal is to shade out most of the ground cover. Until then, wood chips are the preferred choice for ground cover. We also planted four comfrey plants around each fruit tree as a green mulch. Comfrey is a dynamic mineral accumulator as well as a beneficial pollinator attractor. This means that, in addition to attracting pollinators to their fruit trees, it has a deep tap root, so it does not compete with the trees for nutrients but pulls nutrients from deep in the ground to make them available to the trees. They can be chopped and dropped up to eight times a year (pictured below) to create a thick mat of mulch at the base of the tree that provides food for the tree and keeps ground cover from growing and competing with the tree for nutrients and water.
We hope that the Fairview Heights Community Garden’s first food forest will provide perennial food to garden members for many years to come!


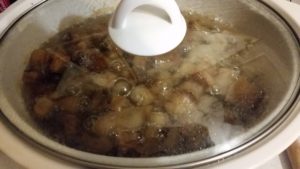 Turn the slow cooker on low, and let it cook all day or over night. As it melts, the lard becomes clear, and there will be smaller cubes of skin left over that can be used to make cracklins.


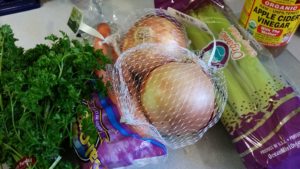
 Ingredients:


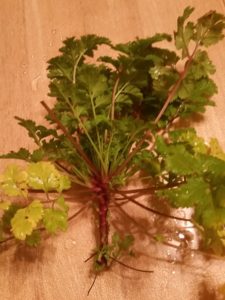
 Neck bones may not seem like the most prized cut of lamb, but they are excellent for making bone broth. Any bones can be used for bone broth, but neck bones have quite a lot of meat that will come off easily during the broth making process.
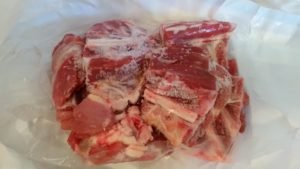
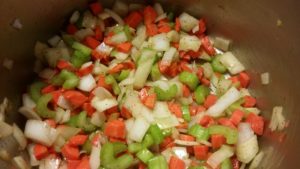
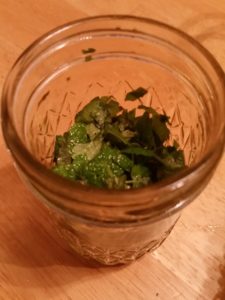
 Then, prepare the following:
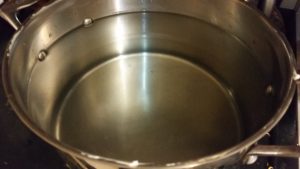
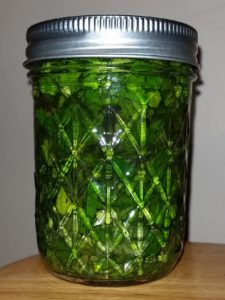
 Bring the pot to a simmer. The goal is to let the bone broth simmer for at least 12 hours, but longer is better. The meat will fall off the bones, and they will turn white if allowed to simmer long enough. That means you’ve gotten all the good stuff.
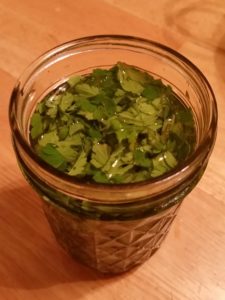
 After simmering for at least 12 hours, strain the bone broth. We use a colander, so we don’t over strain it. As you ladle the bone broth into the colander, you will be separating the meat. The vegetables will be soft, or falling apart. You can feed everything that is strained out to your chickens!
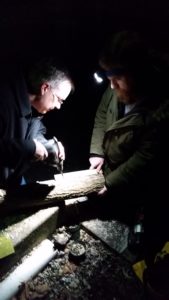 For Christmas, one of my brothers bought another brother mushroom shiitake spawn!
 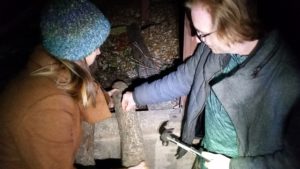 We cut 3 foot sections of walnut, then drilled holes that matched the dowel rod sizes every 2 inches in three equally spaced columns down the side of each log. Afterwards, we used a hammer to pound a dowel rod into each hole (see below).
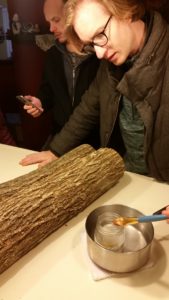 This is similar to planting young mushroom fungi into the wood, with the goal of it colonizing the log to convert it into shiitake mushrooms! The key is keeping the log moist, so it has to stay out of the sun and be watered or soaked to keep it from drying out. The last step of preparation is to seal the dowels with bees wax to slow down the drying process as much as possible.
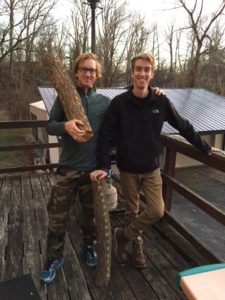 After the log has been fully colonized (~6 months), we will force the log to fruit by soaking it for 24 hours in water, then keeping them around 70 degrees. They should fruit about a week later.


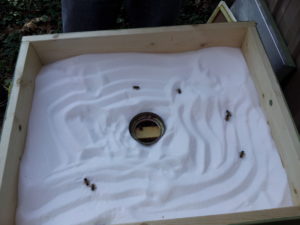
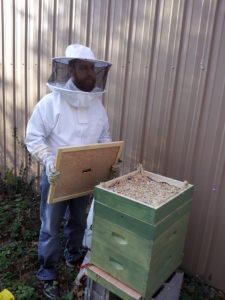
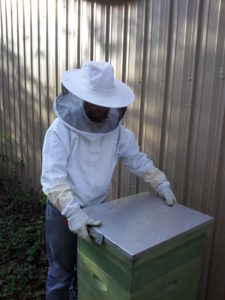
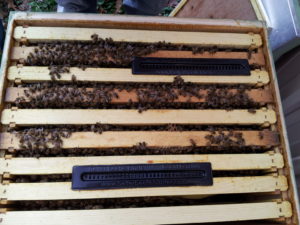 Last week, we winterized our bees for their second winter. There are two main components that we we added to the hives to help them get through the winter.